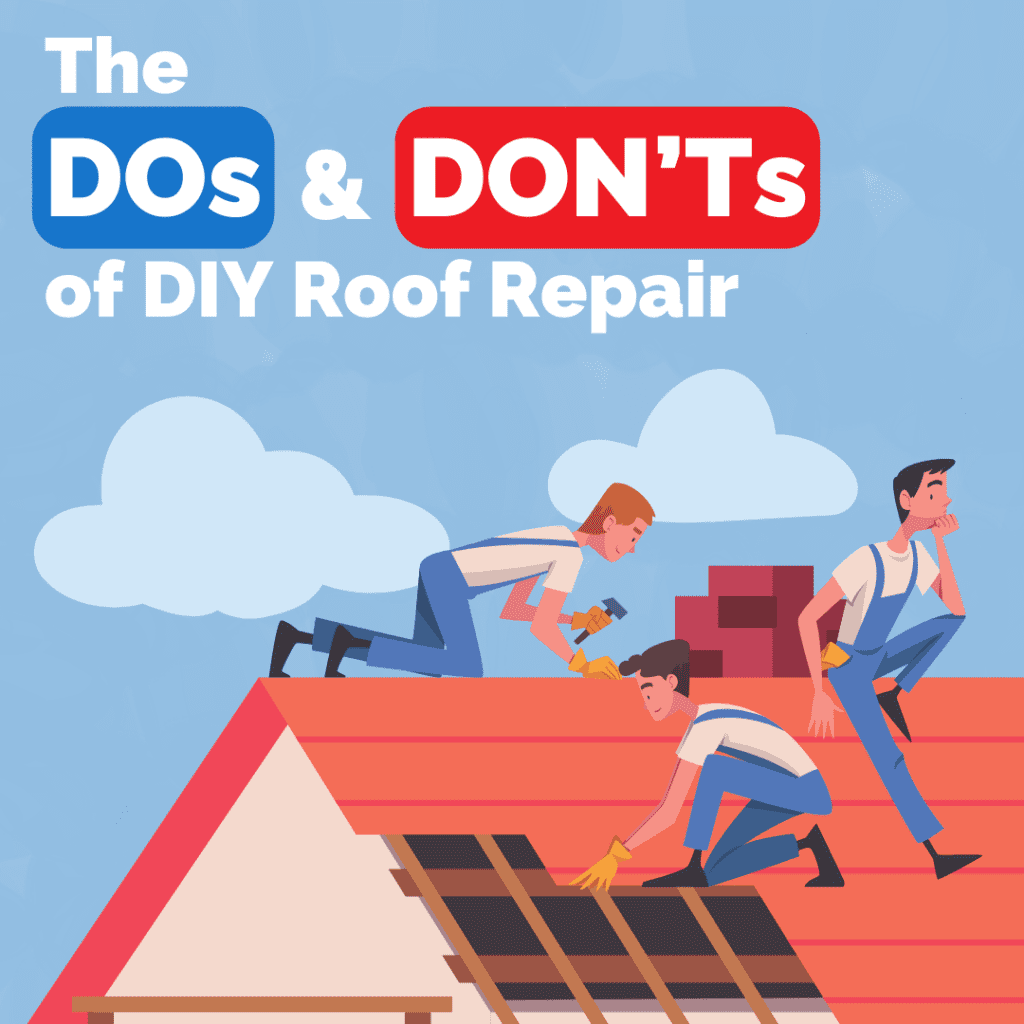
Taking care of your roof is an essential part of maintaining the integrity of your home. While hiring a professional roofing contractor is always a safe bet, there are certain situations where a bit of DIY roof repair might be feasible. However, it’s crucial to understand the dos and don’ts of DIY roof repair to avoid further damage and potential safety hazards. In this article, we’ll explore the basics of roof repair, the necessary tools, the do’s and don’ts, and how to maintain your roof post-repair.
Understanding the Basics of Roof Repair
Before diving into DIY roof repair, it’s important to have a good grasp of the basics. First and foremost, you should be able to identify common roofing problems. Whether it’s a leak, damaged shingles, or sagging areas, these issues need to be addressed promptly to prevent further damage. Additionally, familiarize yourself with the necessary tools for roof repair. Having the right tools on hand will make the process smoother and more efficient.
Roof repair is a crucial aspect of home maintenance that should not be overlooked. Neglecting to address roofing issues promptly can lead to more extensive and costly repairs down the line. By understanding the basics of roof repair, homeowners can take proactive steps to maintain the integrity of their roofs and protect their homes from water damage and other issues.
Identifying Common Roofing Problems
One of the first steps in any roof repair project is identifying the problem areas. Look for signs of leaks, such as water stains on the ceiling or walls. Inspect the shingles for any visible damage, such as cracks, missing pieces, or curling edges. Sagging areas or a damaged roof deck may also indicate underlying issues that need attention.
It’s essential to conduct regular roof inspections to catch potential problems early on. By being proactive and addressing issues promptly, homeowners can prevent minor concerns from escalating into major headaches. Understanding the common roofing problems can empower homeowners to take charge of their roof maintenance and ensure the longevity of their roofing system.
Necessary Tools for Roof Repair
Having the right tools can make a significant difference in the success of your DIY roof repair. A few essential tools to have include a ladder, safety harness, roofing hammer, utility knife, roofing nails, pry bar, and roof sealant. Additionally, having a tarp or bucket on hand can help collect water if you encounter unexpected leaks during the repair process.
Investing in high-quality tools is a worthwhile endeavor for homeowners looking to tackle roof repairs themselves. These tools not only make the repair process more manageable but also ensure the safety of the individual performing the repairs. By having the necessary tools readily available, homeowners can approach roof repair projects with confidence and efficiency.
The Do’s of DIY Roof Repair
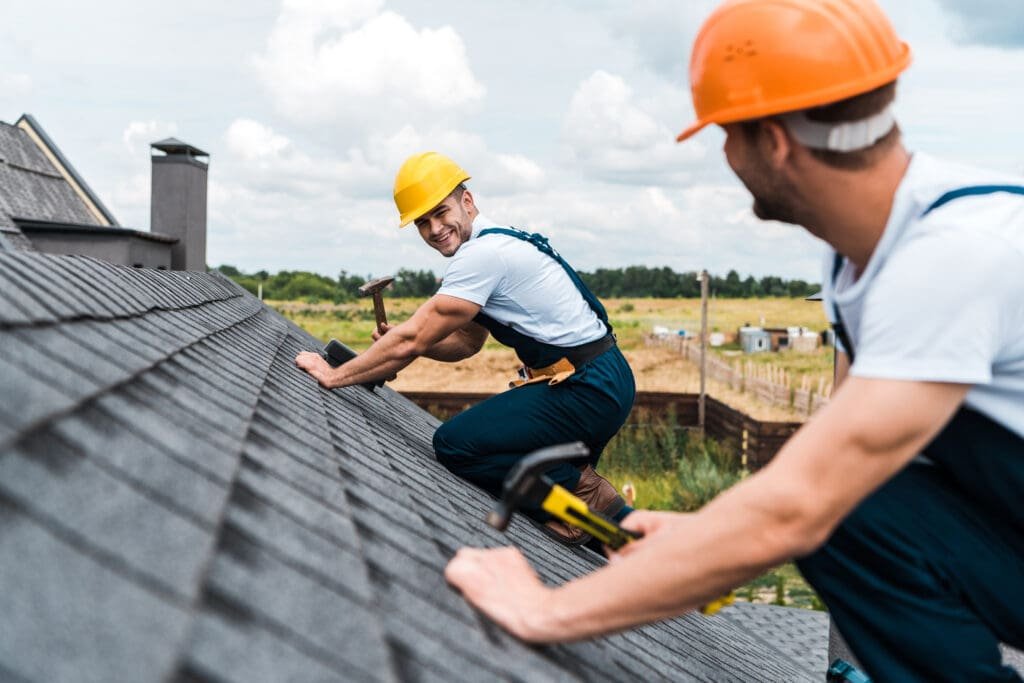
When tackling a DIY roof repair project, there are certain do’s that you should keep in mind. First and foremost, prioritize safety. Before starting any repair work, ensure that you have the necessary safety equipment, such as a harness and sturdy ladder. It’s also important to choose the right materials for the job. Consult with experts at your local hardware store to ensure that you’re using the appropriate shingles, sealants, and other materials.
Safety Measures to Take
When working at heights, safety should be your top priority. Always wear a safety harness and ensure that the ladder is stable and securely positioned. It’s also crucial to work during daylight hours and avoid working alone. Having a helper can provide an extra set of eyes and offer assistance if needed.
Choosing the Right Materials
The quality of materials you use can significantly impact the longevity and effectiveness of your DIY roof repair. Consult with professionals at your local home improvement store to ensure that you’re selecting the right type of shingles, sealants, and other materials for your specific roofing needs. Consider the climate and typical weather conditions in your area to make informed decisions.
Proper Techniques for Shingle Replacement
Shingle replacement is a common part of DIY roof repair. When replacing damaged shingles, it’s important to follow proper techniques to ensure a secure and watertight seal. Start by carefully removing the damaged shingle using a pry bar. Clean the area beneath the shingle and apply a layer of roof sealant. Place the new shingle in position, ensuring it aligns with the existing ones. Nail it securely and apply additional sealant if necessary.
Additionally, when replacing shingles, it’s essential to inspect the underlying roof structure for any signs of damage or deterioration. This includes checking for rot, sagging, or weakened areas. Addressing these issues before installing new shingles will ensure a solid foundation for your roof and prevent future problems.
Furthermore, it’s worth mentioning that proper ventilation is crucial for the health of your roof. Adequate airflow helps to prevent moisture buildup, which can lead to mold and mildew growth. Consider installing vents or exhaust fans to improve ventilation and extend the lifespan of your roof.
The Don’ts of DIY Roof Repair
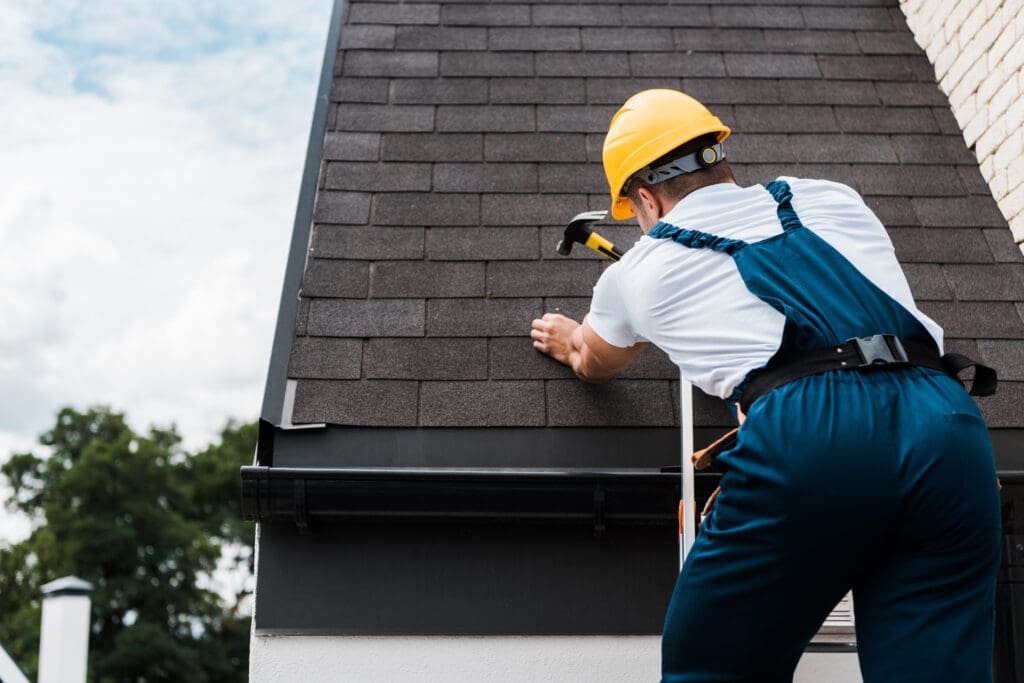
While there are several do’s of DIY roof repair, it’s equally important to be aware of the don’ts to avoid expensive mistakes. Knowing when to call a professional is crucial, especially if the repair job is beyond your skills or if there are safety concerns. Attempting complex repairs without the necessary expertise can lead to further damage or personal injury.
Additionally, it’s essential to consider the weather conditions before embarking on a DIY roof repair project. Working on a roof during adverse weather, such as rain, strong winds, or extreme heat, can not only jeopardize your safety but also compromise the quality of the repair. It’s best to schedule your repair on a dry and mild day to ensure optimal working conditions.
Common Mistakes to Avoid
One common mistake in DIY roof repair is neglecting proper safety precautions. Never work on a roof without securing yourself with a safety harness and using a stable ladder. Another mistake to avoid is using mismatched or incompatible materials. Always consult professionals to ensure that the materials you use are suitable for your specific roofing type and climate.
Moreover, overlooking the importance of thorough inspection before starting a repair can be a costly error. Conducting a detailed assessment of the roof’s condition, including checking for hidden leaks, damaged shingles, or weakened structures, is crucial to addressing all potential issues and preventing future problems.
When to Call a Professional
Some roof repair tasks are best left to professionals. If you encounter extensive damage, significant leaks, or if your roof is old and nearing the end of its lifespan, it’s wise to call a roofing contractor. A professional will have the necessary expertise and experience to assess the situation accurately and provide effective solutions to protect your home.
Maintaining Your Roof Post-Repair
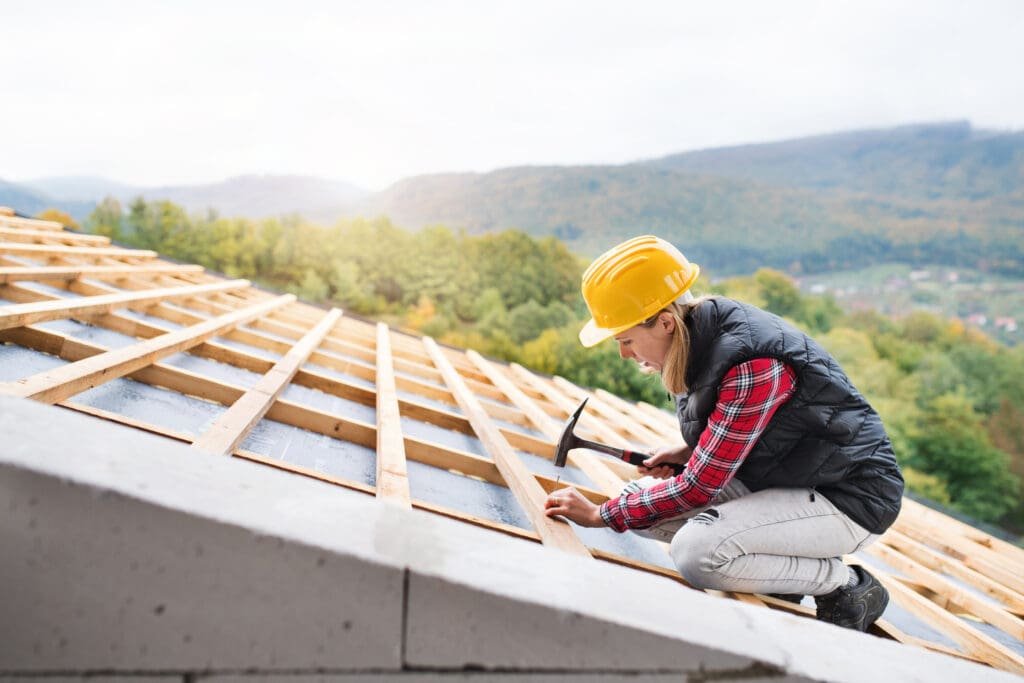
Once you’ve successfully completed your DIY roof repair, it’s essential to prioritize post-repair maintenance. Regular inspection and maintenance can help detect any new issues early on and prevent major problems down the line.
Ensuring the longevity of your roof involves more than just the initial repair work. By implementing a proactive maintenance plan, you can extend the lifespan of your roof and protect your home from potential water damage and structural issues.
Regular Inspection and Maintenance
Schedule periodic roof inspections to identify any potential problems as soon as they arise. Inspect both the exterior and interior of your home for signs of leaks or other roof-related issues. Additionally, keep your roof clean by removing debris such as leaves, branches, and moss, as they can trap moisture and cause damage over time.
During your inspections, pay close attention to the condition of the shingles, flashing, and gutters. Look for any signs of wear and tear, such as cracked or missing shingles, rusted flashing, or clogged gutters. Addressing these issues promptly can prevent water infiltration and prolong the life of your roof.
Dealing with Weather Damage
Weather events can take a toll on your roof, even after repairs. Stay vigilant during severe storms and heavy rainfall to identify any signs of damage. If you notice leaks or significant damage, seek professional assistance promptly to minimize further issues.
High winds, hail, and heavy snow can all cause damage to your roof. After a severe weather event, visually inspect your roof for any visible signs of damage, such as lifted or missing shingles, dents in metal flashing, or granules from asphalt shingles collecting in gutters. Addressing weather-related damage quickly can prevent water intrusion and more extensive repairs in the future.
Conclusion: Balancing DIY Effort and Professional Help
DIY roof repair can be a feasible option for minor issues if you follow the dos and don’ts outlined in this article. Understanding the basics, ensuring safety, using the right materials, and knowing when to call a professional are all key factors in successful DIY roof repair.
Remember, maintaining your roof post-repair is equally important. Regular inspection and maintenance, along with prompt repairs for weather-related damage, will help prolong the lifespan of your roof and protect your home from potential issues.
By striking the right balance between DIY effort and professional help, you can keep your roof in top condition, ensuring the safety and comfort of your home for years to come.
